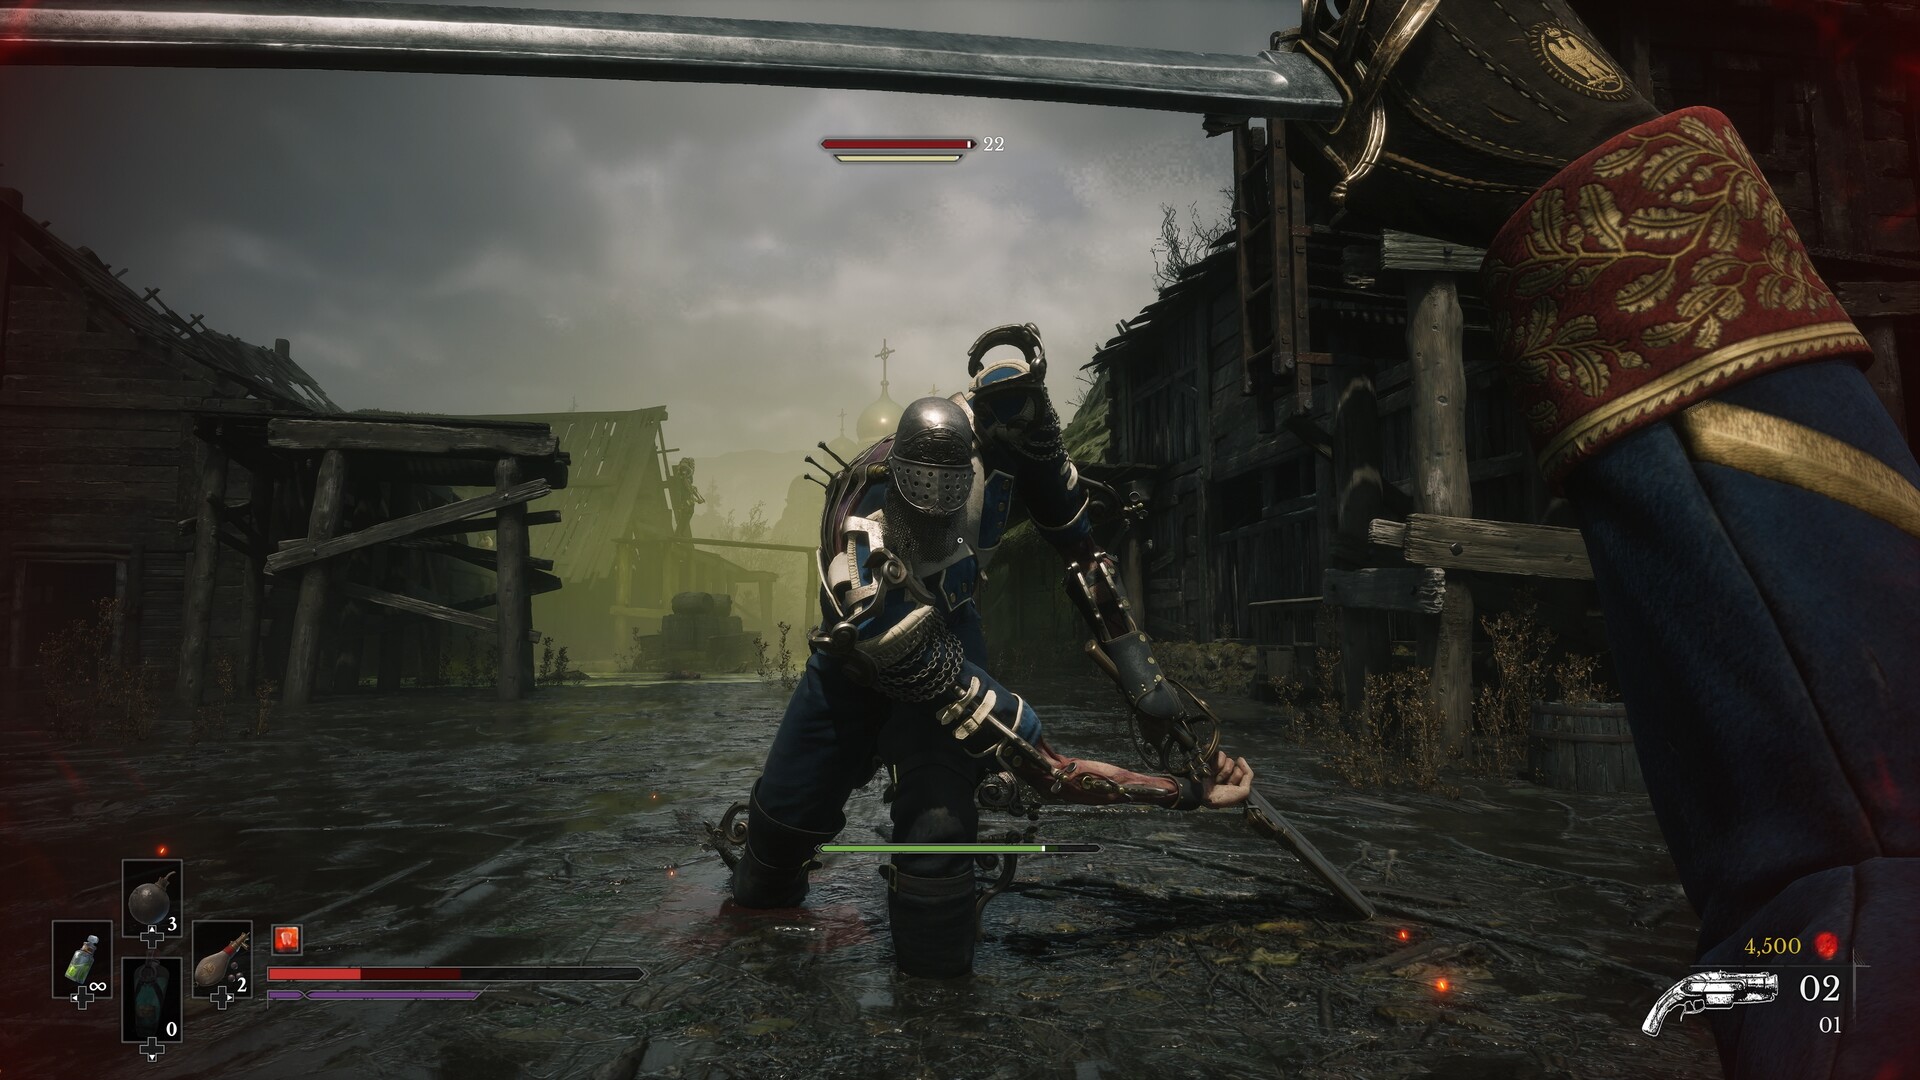
Parry at Impact and Dodge Red Attacks
Press Block just as a parryable attack lands, then build the enemy's Posture bar with parries and melee hits to open a powerful Critical Attack. Dodge red-glowing attacks instead of attempting a blade parry; a last-moment dodge can trigger a Perfect Dodge and empower your next attack.
Choose a Weapon That Can Parry
Equip the Saber while learning if you want access to both blocking and parrying. The Rapier specialises in parries but cannot block attacks properly, making missed timing less forgiving. The Claymore can block but cannot parry, so switch blades before practising this technique.
Duellist's Focus widens the melee parry window and is worth considering if you struggle to catch incoming hits. Parrying Impact on the level-up board increases the Posture damage of successful parries. Choose the Amber for timing assistance and the board upgrade for stronger results once your parries connect.
How to Time Parries and Perfect Dodges
- Read the incoming melee attack's colour before choosing your defence. A red glow signals an unblockable attack; an ordinary melee attack without that warning can be blocked or parried.
- Press Block as the parryable hit reaches you. A successful parry negates its damage, costs no Endurance and deals substantial Posture damage to the attacker.
- Dodge at the last moment of an unblockable attack. The dodge provides invulnerability, while precise timing can produce a Perfect Dodge that empowers your next attack.
- Take a safe opening for the empowered attack after a Perfect Dodge. Let the enemy's next movement determine whether you attack immediately or continue defending.
- Land a melee hit shortly after taking blocked damage when an opening allows it. Melee attacks can restore that recoverable Health, helping you recover after a mistimed defence.
Focus on the point of contact rather than reacting immediately to every windup. Watch the rest of a combo after a successful parry before choosing a counterattack. Learn the sequence comfortably before trying to squeeze damage into every gap.
Turn Posture Breaks Into Critical Attacks
Melee hits and parries fill an enemy's Posture bar, with parries building it faster than ordinary attacks. Once the bar breaks, the enemy becomes vulnerable to a Critical Attack for heavy damage. Watch for that opening so you can turn your defensive work into damage.
A perfect parry deals 100 Posture damage with the Saber or 150 with the Rapier. That stronger parry is the Rapier's main advantage for this approach, balanced against its inability to block properly. Keep using the Saber if having a guard available helps you learn unfamiliar attacks.
Use Nephtoglobin to Support Your Defence
Nephtoglobin fuels your Transmutations, including Fire, Stasis and Shield. Melee hits extract more, while shattering Nephtoglobin Weak Points releases Remnants that refill your reserve when collected. Resting at a Lantern also restores your Nephtoglobin, making it useful preparation before another attempt.
Against General Lothaire, Fire Transmutation and Pistol shots at his weak points support the same stagger plan as your parries. Weak-point shots add heavily to his stagger bar, which attacks and parries can finish filling. Treat these as opportunities to reach a Critical Attack without relying entirely on melee exchanges.
Practise Against Early Battlefield Enemies
- Choose a basic human enemy around The Battlefield > Onslaught Arch as your practice target. The early battlefield enemies give you somewhere familiar to work on timing.
- Let your chosen enemy attack while you concentrate on parrying. You can practise repeatedly against the same basic human enemy without needing to defeat it immediately.
- Rest at a Lantern when you need to reset your practice. Resting restores Health and Nephtoglobin and brings back ordinary enemies for another attempt.
For a concrete timing challenge, aim for 10 consecutive parries without taking damage. Guarding a hit still causes damage and breaks that streak, so a successful block does not count as a clean parry. Work toward consistency before moving the drill into a boss fight.
Spoiler Warning: General Lothaire's Fights
The opening encounter at the end of Chapter 1: Revival is intended to be lost, with the main defeat of General Lothaire taking place in Chapter 2: Regroup. Use the opening encounter to recognise his tells. In the later fight, expect two phases with two health bars.
- Parry his ordinary sword and spear swings during the opening phase. These melee combos are parryable unless the attack flashes red.
- Dodge his shoulder gunshots as the gold flash nearly disappears. Watch for this follow-up at the end of his melee combos.
- Apply Fire Transmutation when your Nephtoglobin reserve allows it. Igniting Lothaire adds damage while you continue looking for defensive openings.
- Shoot visible weak points with the Pistol to build stagger. Those shots help bring him closer to the opening you are creating through parries.
- Perform the powerful stun attack when his stagger bar fills. This is the damage opportunity your parries, attacks and weak-point shots have been building toward.
- Dodge the unblockable arm attacks and grab during the later phase. His transformed arm adds threats that require you to change your defensive response.
Equipment Options Against Unblockable Attacks
Later equipment upgrades provide additional answers to red attacks. Showstopper on the Blunderbuss at level 2 lets shots interrupt unblockable attacks, while Impenetrable Defence on the Shield Transmutation at level 4 protects you from them. Until you have the relevant upgrade, keep practising the dodge response whenever you see red.