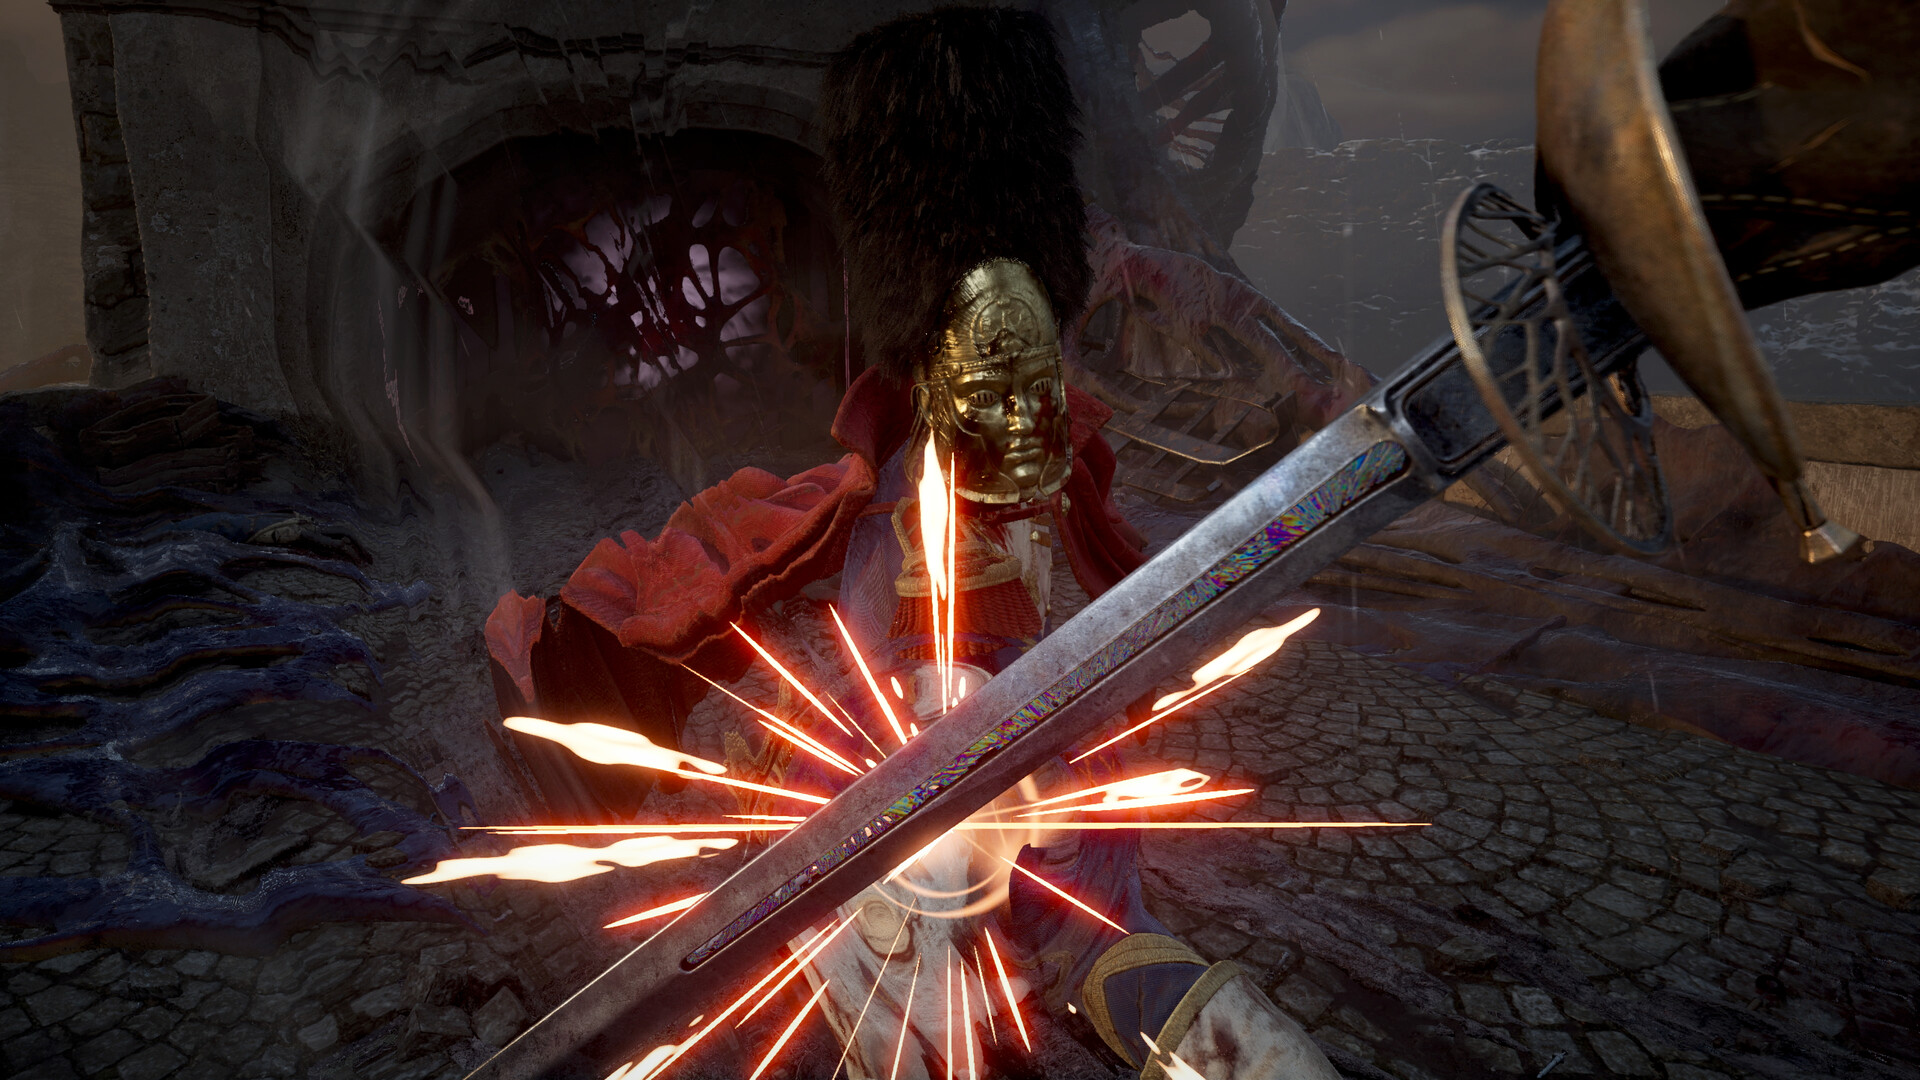
Recover Your Gear and Escape the Jail
To complete Chapter 10: Shackled, recover your equipment using the Armoury Key, then follow the escape route through the sewers into the city. If you want to finish The Choir, collect its chapel documents before leaving the jail and post the prisoner list on the board beside the city Lantern.
The jail is temporary, and you cannot return after leaving. The Choir is optional, so you can concentrate on escaping if you prefer, but complete its prison objectives during this visit if you want its reward.
Prepare for the Unarmed Escape
If you have not entered the jail yet, spend your held Catalysts on levels at the previous Lantern before continuing from the Fortress. You will be carrying them through the opening escape without access to another Lantern.
Once inside, make recovering your equipment the priority if the patrols are giving you trouble. You can revisit the early Choir objectives after getting your weapons back. Dying during the opening jail section sends you back to the cell.
Retrieve Your Equipment With the Armoury Key
- Follow the linear escape path to the room with a horn on your left. This room holds the document that begins The Choir.
- Pick up Prison Warden’s Journal – Part One from the desk. This starts The Choir while you work toward recovering your equipment.
- Continue upstairs to the large room with patrolling soldiers and accessible rafters. This is the room you need to cross to reach the kitchen.
- Interact with the door at the end of the long upstairs hallway for The Choir. Remember its position for your return with the chapel key.
- Cross the upper-floor rafters toward the center of the room. This brings you to the drop into the kitchen area below.
- Drop into the kitchen area beneath the rafters. The table here holds the Armoury Key needed to regain access to your equipment.
- Pick up the Armoury Key from the kitchen table. Its destination is the equipment room behind the locked door on the lower floor.
- Use the Armoury Key on the lower-floor door to retrieve your equipment. You can now tackle any prison objectives you postponed while unarmed.
Open the Chapel for The Choir
- Collect Prison Warden’s Journal – Part Two from the table in the small room beside the Armoury Key location. This continues the prison document trail.
- Take the Key to the Chapel from the table in the side room containing a memory. Look on the opposite side of the upper floor.
- Unlock the chapel door using the Key to the Chapel. This gives you access to the prisoner list needed to finish the quest outside.
- Pick up Letter to Headquarters – A List of Deceased Prisoners from the counter behind the bodies. Keep it for the noticeboard after the sewer escape.
Collect The Forgotten Fortune Before Leaving
The Forgotten Fortune is another optional prison detour. Fire Transmutation still works while your weapons are confiscated, so you can use it for this quest before recovering your gear.
- Read the prisoner’s note near the Prison Lantern. It mentions hidden treasure, while a prisoner nearby complains about someone who hanged himself in the next cell.
- Burn the hanging body with Fire Transmutation. Doing so reveals the Silver Lockpick hidden inside it, giving you access to the nearby locked cell.
- Use the Silver Lockpick to unlock the nearby cell. The treasure inside is an Eternal Catalyst Clot, so collect it before leaving the prison.
Equipment, Ambers and Ferrofluid Upgrades
| Item or Category | What to Collect |
|---|---|
| Your equipment | Recover it through the lower-floor door opened with the Armoury Key. |
| Ambers | The temporary jail has no Amber pickups to collect. |
| Ferrofluid upgrades | There are no Ferrofluid upgrade pickups in the temporary jail. |
| The Choir reward | Receive a Remnant’s Return after posting the prisoner list beside the city Lantern. |
| The Forgotten Fortune treasure | Collect an Eternal Catalyst Clot worth 5,000 Catalysts from the cell opened with the Silver Lockpick. |
Escape Through the Sewers and Finish The Choir
- Continue through the escape route until you emerge from the sewer into the city. The Lantern beside the noticeboard is your destination for The Choir.
- Place the prisoner list on the board directly beside the Lantern. This completes The Choir and awards the Remnant’s Return consumable.
What Can Wait Until a Later Return?
Finish your prison detours before leaving: the jail itself cannot be revisited. The city outside initially appears in an alternate state, but returns to normal after you leave and can be explored again for missed items.
Missed Ambers and Ferrofluid upgrades elsewhere can wait for later cleanup, including after the story. Keep that separate from the prison visit, where the optional quests need your attention before you move on.
Continue to Reflection
Spoiler warning: the following paragraph names the final boss and explains where its encounter begins.
Escaping the jail leads into Chapter 11: Reflection. When speaking with Lucjan, choosing to go to the cave takes you to Caverns > Ancient Lair. Interacting with the stone door there starts the final boss encounter against The Entity; you can also use this stage to handle remaining cleanup.