What to buy first
Start with Maximum Health and Maximum Endurance while learning combat, then specialize: Parrying Impact for parries, Headshot Damage and Ammo Restock for firearms, or Nephtoglobin Sufferance and Nephtoglobin Extraction for Transmutations. For close-range damage, prioritize the finite Melee Damage upgrade before its repeatable counterpart.
Skill priorities by combat style
| Option | Recommended skills and benefits |
|---|---|
| Survival while learning | Maximum Health adds +10 Health per purchase. Physical Resistance adds +3% melee and ranged damage resistance per purchase, while Healing Effectiveness adds +5% healing effectiveness per purchase. |
| Frequent melee attacks | Maximum Endurance adds +5 Endurance per purchase. Melee Endurance Cost reduces attack costs by 5% per purchase, Endurance Regeneration adds +5% regeneration per purchase, and Melee Damage adds +3% damage per purchase. |
| Parries and Critical Attacks | Parrying Impact gives +5% Posture damage from parries per purchase. Critical Damage adds +5% Critical Attack damage per purchase. Pair them when you regularly turn parries into Posture breaks. |
| Firearm-focused combat | Headshot Damage gives +5% headshot damage and +1 special ammunition capacity per purchase. Ammo Restock adds +2 Pistol rounds and +1 special round refilled at Lanterns, plus +1 special ammunition capacity per purchase. Ammunition Drop Chance adds +5% per purchase. |
| Keeping Transmutations supplied | Nephtoglobin Sufferance adds +10 Maximum Nephtoglobin per purchase. Nephtoglobin Extraction increases Nephtoglobin from melee hits by 15% per purchase, while Nephtoglobin Remnants adds +10% Nephtoglobin from Weak Points per purchase. |
| Transmutation damage and statuses | Status Buildup increases Transmutation status build-up by 5% per purchase; Transmutation Damage adds +3% damage per purchase. Prioritize these when your Nephtoglobin supply already supports the casts you want. |
| Airborne shooting | Airborne Aiming slows time while aiming a firearm in mid-air. It unlocks with a single purchase; take it for jump shots and airborne headshots. |
Level up and find your chosen upgrades
Visit a Lantern and use its level-up menu to spend Catalysts on levels. The level-up board and Amber equipment are managed there. Catalysts also pay for merchant purchases, so leave room in your spending plan for the equipment you use.
Airborne Aiming is in the third column of the skill tree. Blades and firearms are upgraded at James's Iron Bench, while Transmutations are upgraded at Louis's Laboratoire in the Abandoned Church. Equipment levels unlock Enhancements, so treat those upgrades as a separate investment alongside your board skills.
Make Endurance and healing last
Endurance fuels attacks, dodges, blocks and sprinting. If you keep running out before an enemy finishes attacking, pair Maximum Endurance with Melee Endurance Cost or Endurance Regeneration. Choose Blocking when you regularly guard attacks, because it lowers the Endurance cost and increases the Health you can recover afterward.
Blocked damage can be recovered by landing melee hits before the recovery window closes. Ferrofluid Flask Refill lets melee attacks replenish a flask when every flask is empty, while Healing Effectiveness improves healing. Dominatus offers healing through Critical Attacks, and Duellist's Focus widens the melee parry window; both are Ambers you can use alongside your skills.
Put your combat skills into practice
- Use the Saber if you want both blocking and parrying, or the Rapier for a parry-focused approach. The Claymore cannot parry, so prioritize melee damage and Endurance skills when using it.
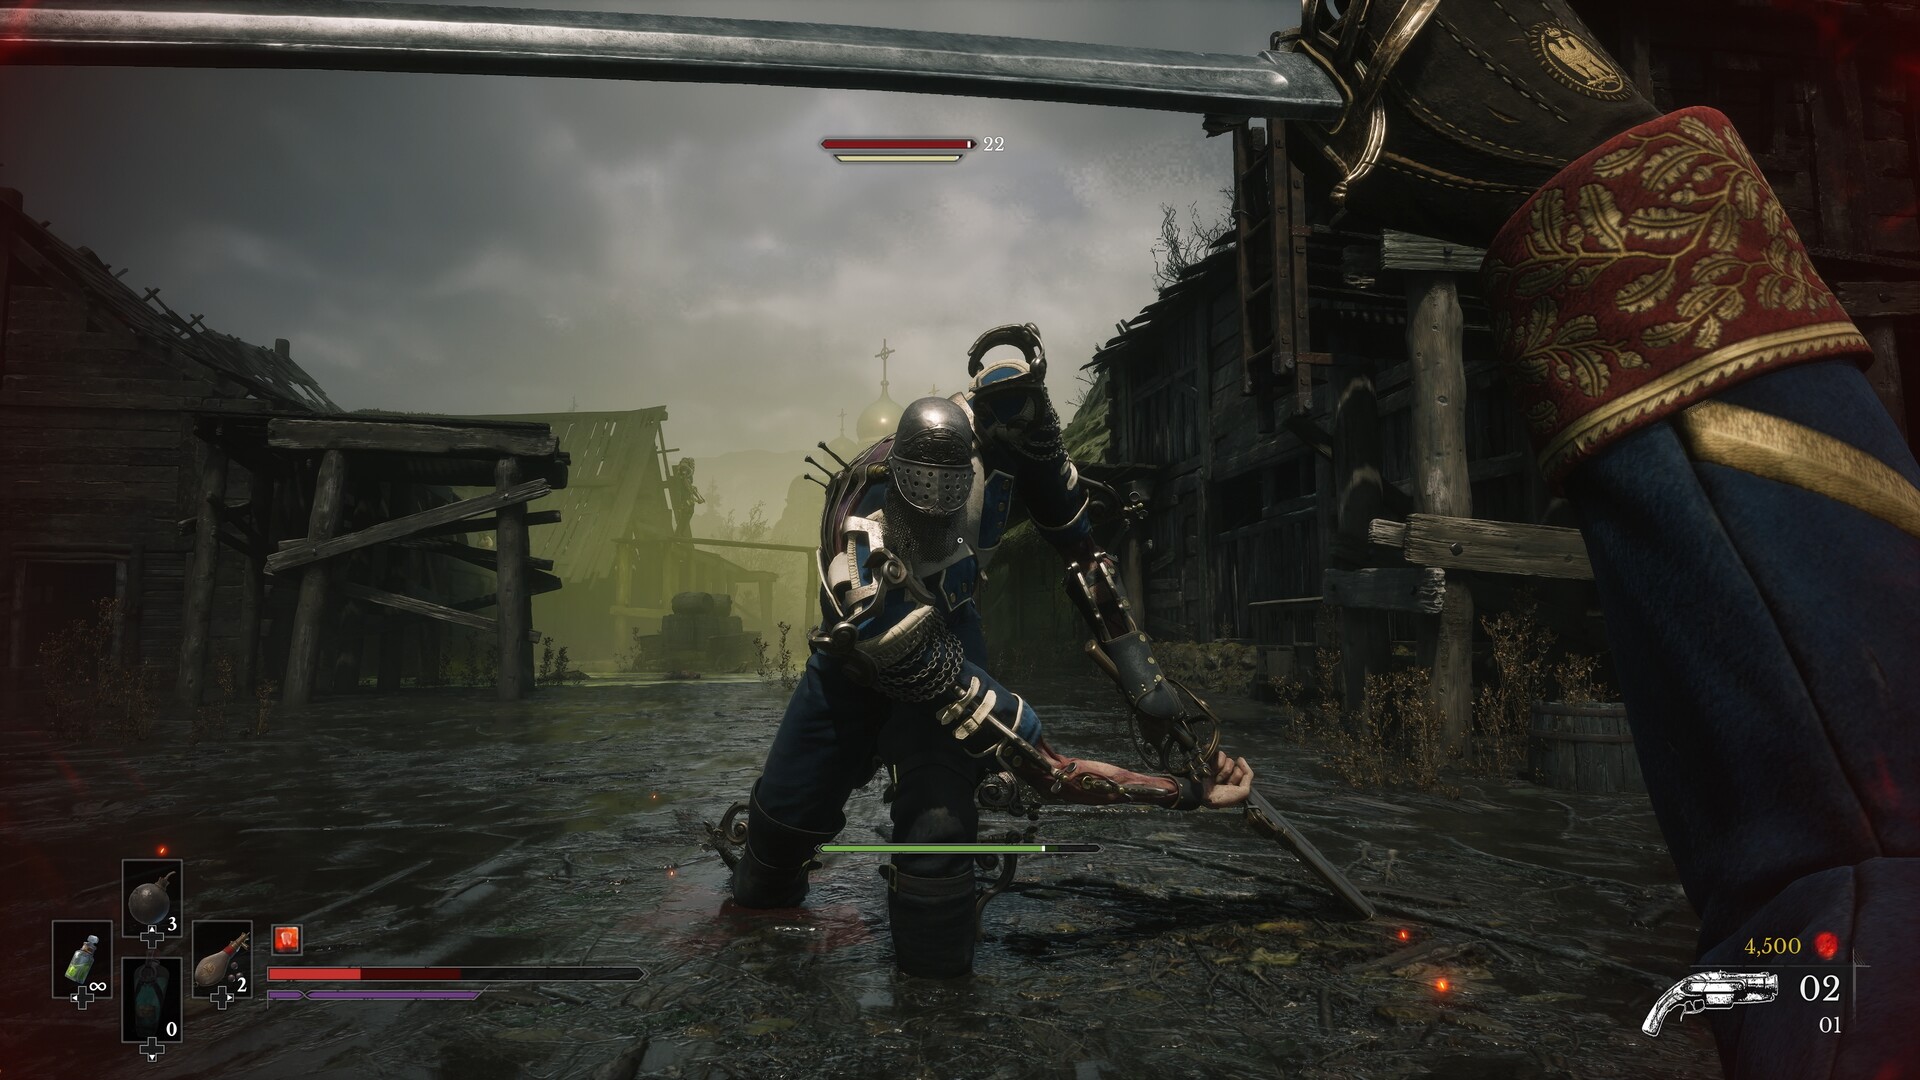
- Time your parry just before a familiar attack lands to build enemy Posture. Parrying Impact strengthens that Posture damage; take the Critical Attack opening when the enemy's Posture breaks.
- Dodge red-glowing attacks during ordinary blade defence. For another answer, the Blunderbuss's Showstopper interrupts Unblockable Attacks at weapon level 2, while the Shield Transmutation's Impenetrable Defence protects against them at level 4.
- Use the Pistol to shatter Weak Points and collect the Nephtoglobin Remnants they release. The Nephtoglobin Remnants skill improves that refill, while Nephtoglobin Extraction supports the melee hits you land between casts.
- Apply Fire until Ignite takes hold, then use safe melee openings while the burn deals damage. If your Transmutations run dry, refill Nephtoglobin through melee hits or Weak Points before casting again.
Put Airborne Aiming to work
Airborne Aiming is worth taking when you shoot during jumps, especially for airborne headshots. At The Outskirts > Broken Bridge, follow the wall-jump and grapple route upward; enemies ahead of the wall jumps give you a place to practice. Return to the Lantern to respawn enemies and try again if you miss the headshot.
Reset skills or adjust your loadout
You can reset the skill tree, and resets can cost Catalysts. Check the reset price before committing and decide which skills you want to replace. Moving from Rapier parrying to Claymore attacks is a reason to reassess Parrying Impact, because the Claymore cannot parry.
For a smaller change, swap Ambers at any Lantern or switch between weapon Enhancements you have already unlocked. Read the effect before changing your healing setup: Life Diverted makes flasks restore Nephtoglobin instead of Health, while Butcher's Carnage disables flask healing in exchange for melee lifesteal. Keep ordinary flask healing while learning a fight if those trade-offs leave you uncomfortable.
Strengthen healing while you save for skills
From Valley of Ashes > Guidepost, follow the main path past the wagon tipped onto its side. Take the right-hand path toward the wooden cliff platform, then break the boxes on the left before using the pole. Deal with the enemy in the dead end and open the chest for a Ferrofluid Flask Power Upgrade.
After obtaining the grapple ability, return to Valley of Ashes > Quarry and ride the elevator near the Lantern upward. Use the grapple points, pull the crate across the area and fight your way to the top. The chest near the zipline back down contains another Ferrofluid Flask Power Upgrade.