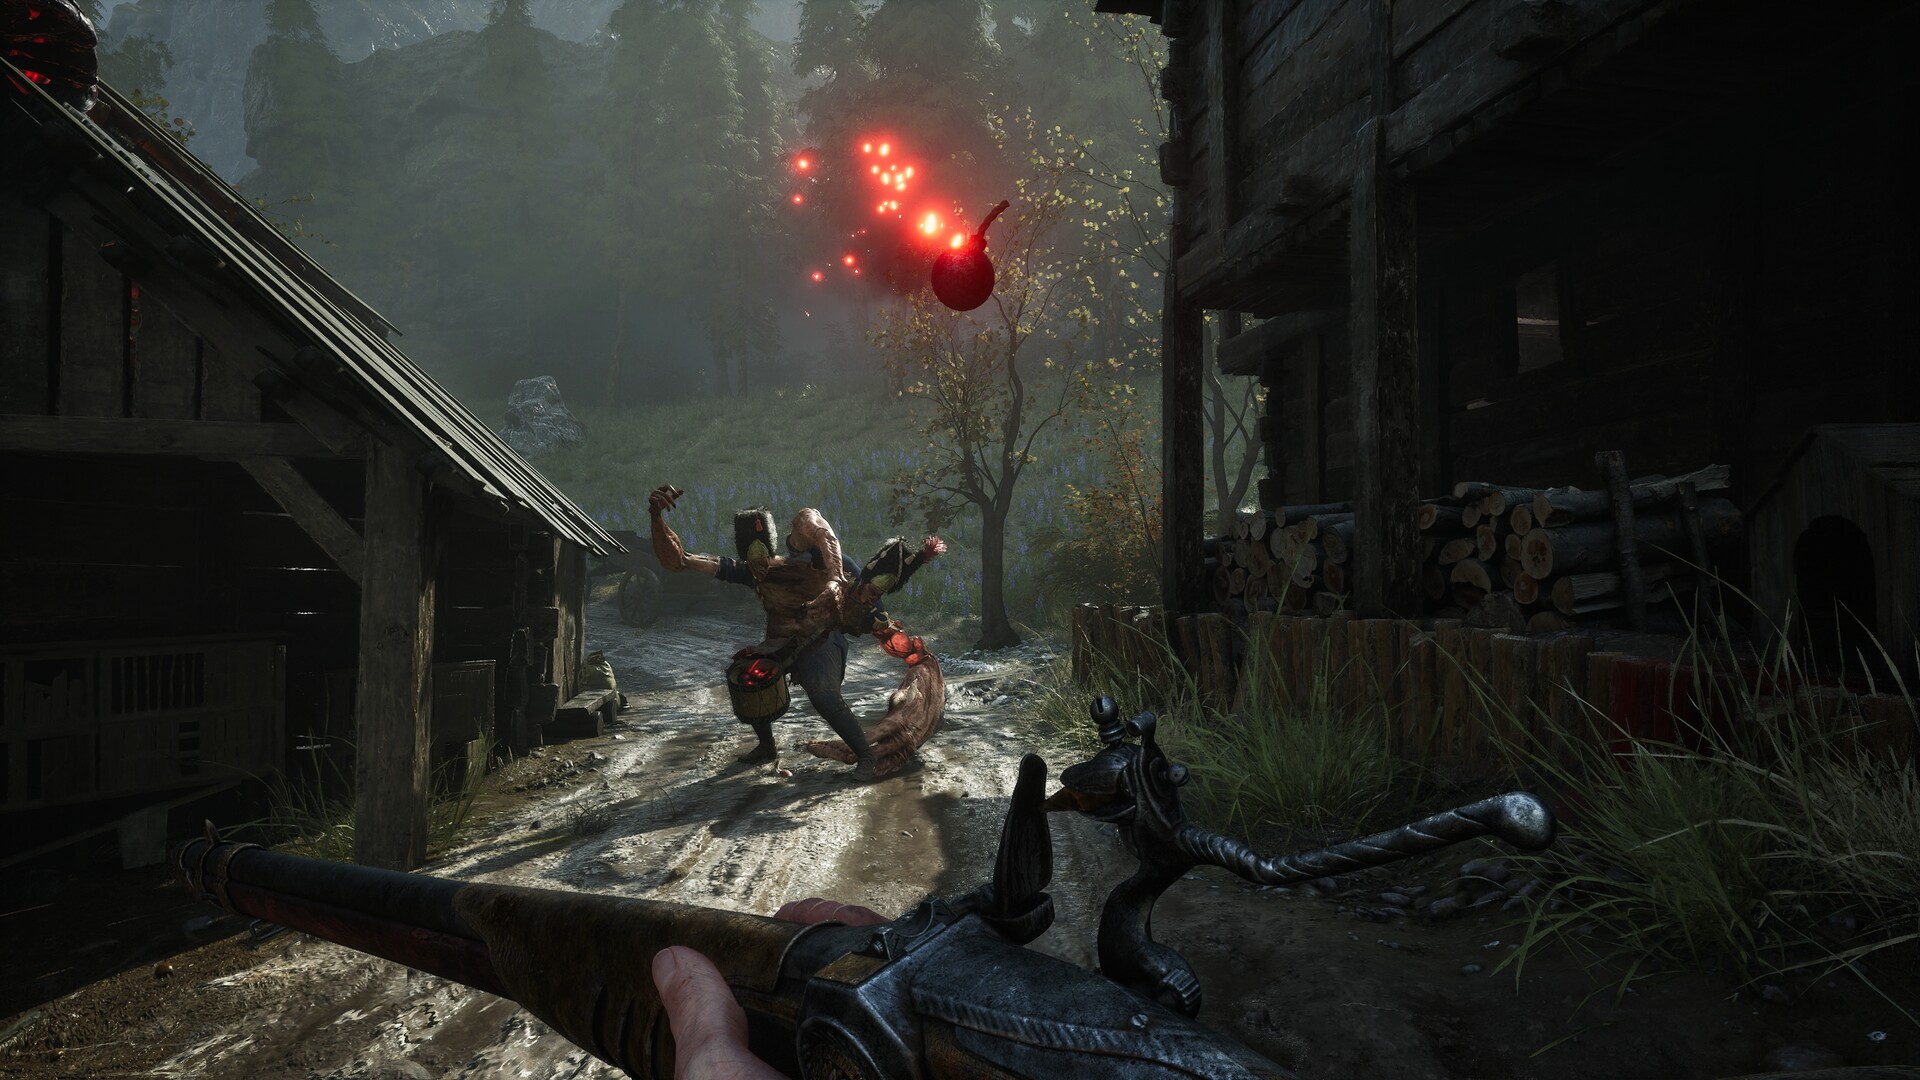
Where to Get the Pistol
Get the Pistol during Chapter 2: Regroup in the Valley of Ashes, inside the train car on the left of the bridge platforming route before The Climb Lantern. Use it for weak points and headshots, particularly General Lothaire’s exposed weak points while he is burning, to help stagger him.
Follow the Bridge Route From Guidepost
- From the Valley of Ashes > Guidepost Lantern, follow the main road to the wooden ledge. Turn right and jump across the gap to continue.
- Keep following the story route until you reach the bridge platforming section. Look to the left and enter the train car to collect the Pistol; picking it up is required to progress.
- Continue through the bridge section toward The Climb Lantern. That Lantern comes after the platforming, so use the train car as your pickup landmark before moving on.
Lantern names appear in the fast-travel menu after the boss in Chapter 2. On your first trip, use the bridge and train car to navigate. You do not need an optional quest reward to obtain the weapon.
Fight With Weak-Point Shots
The Pistol holds 5 rounds before reloading, and its base reload takes 4 seconds. Your base maximum Pistol ammunition is 15 rounds, so save shots for clear targets. It deals full damage out to 20 m, making exposed weak points a useful priority beyond melee reach.
Breaking Nephtoglobin Weak Points releases Remnants that refill Nephtoglobin when collected. Melee attacks also replenish this resource, which your Transmutations consume. Against Grenadiers, shoot the grenade bucket at their waist to stop them throwing grenades.
- Against General Lothaire, use Fire Transmutation to ignite him, then aim the Pistol at his exposed weak points to build stagger.
- Follow the weak-point shots with melee attacks or parries to finish filling his stagger bar. Take the stun attack when he becomes vulnerable.
- Use the Pistol to clear his summoned soldiers quickly. If your Nephtoglobin bar is full after a stun attack, you can immediately ignite him again.
Pistol Ammunition and Coated Rounds
| Item | Effect | How to Get It |
|---|---|---|
| Pistol Cartridges | Refills your Pistol ammo pouch with 5 rounds. | Buy from James’s Iron Bench or collect world pickups. |
| Deadly Rounds | Increases the damage of your next Pistol shots. | Buy from James’s Iron Bench or collect world pickups. |
| Mighty Rounds | Increases the Posture-breaking power of your next Pistol rounds. | Buy from James’s Iron Bench or collect world pickups. |
| Fire-Clad Rounds | Coats your next Pistol rounds in flaming cladding. | Buy from James’s Iron Bench or collect world pickups. |
| Stasis-Clad Rounds | Coats your next Pistol rounds in Stasis Cladding. | Buy from James’s Iron Bench or collect world pickups. |
Pistol Upgrades and Firearm Parts
Upgrade the Pistol at James’s Iron Bench in the Abandoned Church. It uses Firearm Parts and reaches a maximum of level 10. Collect parts while exploring and check the bench for purchasable materials.
| Level | Damage | Materials |
|---|---|---|
| 1 | 30 | Story pickup |
| 2 | 33 | 1 Standard Firearm Parts |
| 3 | 36 | 2 Standard Firearm Parts |
| 4 | 39 | 3 Standard Firearm Parts |
| 5 | 42 | 1 Superior Firearm Parts |
| 6 | 45 | 2 Superior Firearm Parts |
| 7 | 48 | 3 Superior Firearm Parts |
| 8 | 51 | 1 Exquisite Firearm Parts |
| 9 | 54 | 2 Exquisite Firearm Parts |
| 10 | 60 | 1 Masterwork Firearm Parts |
Where to Get Masterwork Firearm Parts
- In City of Orphans > Sewers, pass through the door opened with the Sewers Key, take the left path, then turn left to swing across the bar. Collect the Sewers Master Key from the body beside the platform, return to the Lantern and open the door beside it for the chest.
- From University > Main Hall, return to the chandelier route and take the opposite poison hallway. Ride the elevator down, continue through the lower library into the lecture hall with hanging bodies, and open the chest beneath the balcony at the back.
- After obtaining Shield Transmutation, follow The King of Smugglers quest to The Outskirts > Harbour. Use the Harbour Residence Key to enter the house near the iron gates, read Crusty Benek’s Journal upstairs and loot the nearby chest.
Ambers That Support Pistol Combat
| Amber | Effect | How to Get It |
|---|---|---|
| Sleight of Hand | +20% reload and weapon-switch speed. | Complete An Unheard Farewell and tell the truth when returning to the adjutant. |
| Lucky Shot | Chance to keep ammunition: +10%, +15% or +20% at ranks I, II and III. | At Caverns > Last Sunlight, follow the tunnel in the floor hole to the chest near a Grenadier. |
| Marksman’s Bane | Allows bullet parries, granting a Pistol round on a successful parry. | At Valley of Ashes > Quarry, ride the first zipline, go left, break the boxes and follow the path to the tower chest. |
| Sixth Sense | Increases Firearm damage during Perfect Dodges; dodging bullets briefly slows time. | At City of Orphans > Tribunal Square, climb the boxes left of the riverside burrow and follow the path around the building to the chest. |
Skills for Ammo Supply and Airborne Shots
Prioritize Ammo Restock if you regularly run short: each purchase adds 2 Pistol rounds to Lantern restocks. Ammunition Drop Chance adds +5% per purchase, while Headshot Damage adds +5% headshot damage per purchase. The repeatable Firearms Damage upgrade adds +1% Firearm damage per purchase.
Airborne Aiming unlocks slow-time aiming with Firearms while you are in the air. It is useful when lining up Pistol shots after a wall jump. For Windhover, kill 3 enemies with the Pistol while aiming in mid-air; those kills can happen across separate jumps.