How to Beat Justicar Aurelius
Defeat Justicar Aurelius by parrying his sword combos, burning him with Fire Transmutation, and timing your dodge for the landing of his delayed airborne attack. He has two health bars, and his transformed form retains the sword combos you can parry.
Where to Find Aurelius
High Justicar Aurelius, Last of the Faithful, is fought in The Outskirts at the start of Chapter 7: Witch Hunt. He is a mandatory story boss, so continue the campaign into Witch Hunt to reach this encounter. Defeating him advances the story route toward Experiment 83.
Prepare Your Weapon and Ambers
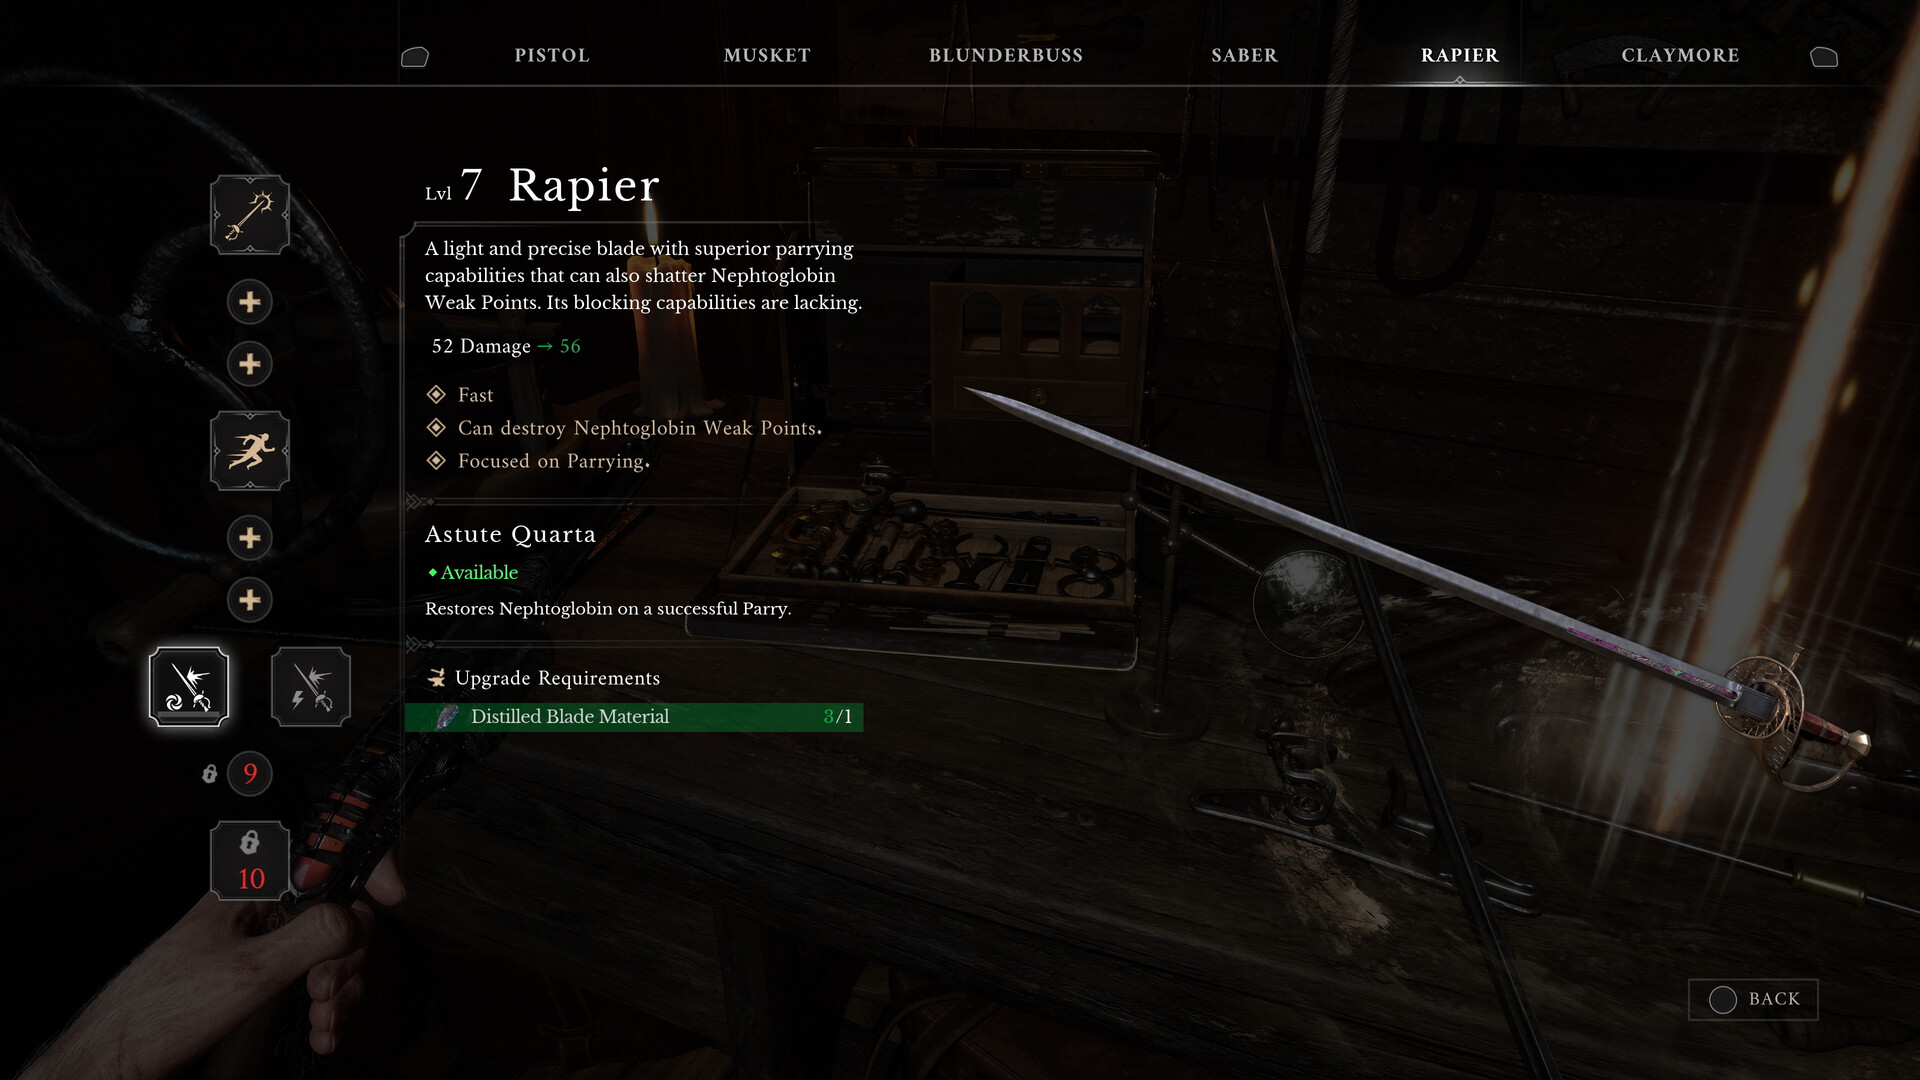
Choose a weapon that supports the defensive approach you want to practise. The Saber offers blocking and parrying, while the Rapier rewards accurate parries but cannot block attacks properly. The Claymore cannot parry, so choose the Saber or Rapier for the sword-parry strategy below.
| Option | How It Helps |
|---|---|
| Saber for learning the fight | Can block and parry, giving you both defensive options while you learn his sword rhythm. |
| Rapier for confident parries | Deals more Posture damage with a perfect parry than the Saber, but cannot block attacks properly. |
| Duellist's Focus Amber | Widens the melee parry window, making it a useful choice when mistimed parries are costing you attempts. |
| Dominatus for Critical Attacks | Restores Health when you perform a Critical Attack, supporting a strategy built around breaking his Posture. |
Practise Against an Oathbound Enemy
An Eternal Guardsman associated with The Oathbound uses the same attacks as Aurelius's opening form. If those sword combos keep catching you, practise against an available Guardsman before returning to the boss. Use the encounter to recognise the sword's approach and time your parries to contact.
- Fast travel to The Battlefield > Onslaught Arch to begin the route to an Oathbound encounter.
- Follow the cliffs behind the Lantern past the camp until you reach the fork with enemies.
- Take the left branch to find a weak point on a wall.
- Shoot the wall's weak point to reach the area containing the Oathbound enemy.
Opening Form: Parry and Punish
Aurelius primarily attacks with sword combos in his opening form. Parries build his Posture and create opportunities to attack when he is fully stunned. Keep ordinary melee damage between his combos, rather than trying to finish a long attack string while he is swinging.
- Parry each incoming sword strike as it lands to negate its damage and build Aurelius's Posture without spending Endurance.
- Perform a Critical Attack when his Posture breaks to turn the opening created by your parries into damage.
- Apply Fire Transmutation during an opening to ignite him while continuing to avoid his attacks.
- Land normal melee attacks between his combos to add damage without deliberately trading into his sword swings.
Transformed Form: Read the Arm and Delayed Jump
Emptying the first health bar transforms Aurelius into a monstrous Eternal Guardsman and continues the fight. His familiar sword combos remain, alongside new attacks from his transformed arm. Keep parrying the sword, but watch for the arm being held out and the unusually long pause before his airborne unblockable strike.
- Parry his familiar sword combos to keep creating damage opportunities after the transformation.
- Stop your melee punish when he holds out his transformed arm so you can prepare for the quick two-hit combo that follows.
- Delay your dodge until his airborne unblockable attack comes down, allowing for the long hang time before the strike.
Firearm Targets and Stasis
If you use a firearm, aim for Aurelius's chest or groin: those areas take increased damage, while his masked head reduces it. Stasis also affects Aurelius at full Crystallization effectiveness. If you choose that approach, fully freeze him and follow with an attack to deal damage.
Rewards and the Route After Victory
Defeating Aurelius awards True Oath and 18,000 Catalysts. Victory advances the mandatory story route toward Experiment 83. Before moving farther, check the slope immediately beyond the boss area for a healing upgrade.
- Open the chest on the slope immediately after Aurelius's boss area to collect a Ferrofluid Flask Power Upgrade.
- Continue along the mandatory story route to progress toward the later Experiment 83 encounter.
What Happens When an Attempt Fails
When you die, you drop your Catalysts where you fell and respawn at the last Lantern you Rekindled. Recover the drop before another death or those Catalysts are lost permanently. Spending Catalysts before returning can make practice attempts less costly.
For your next attempt, choose the cue that caused the failure and concentrate on recognising it. If the delayed jump caught you, practise waiting through the airborne pause before dodging. If sword combos caused the problem, return to the familiar parry rhythm instead of rushing to replace the lost damage.