How to Beat General Lothaire
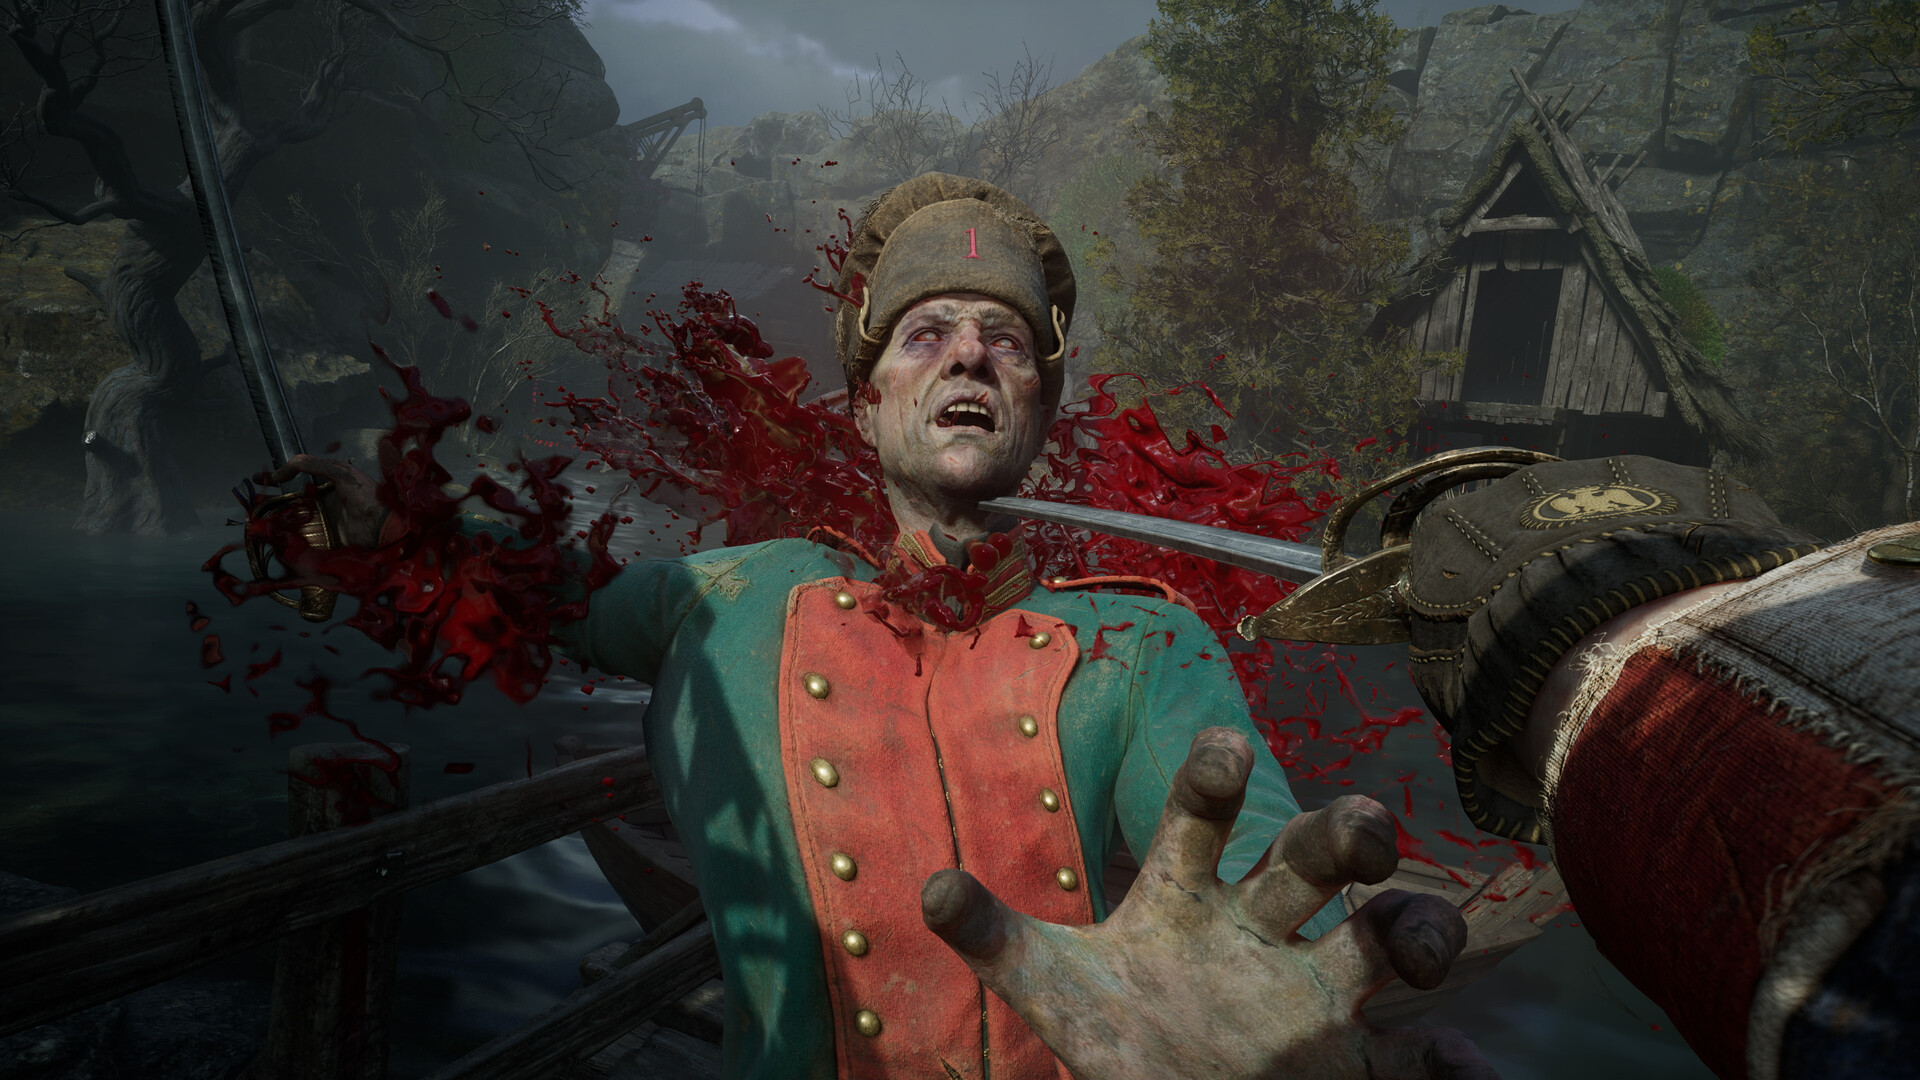
You can beat General Lothaire's opening encounter, although the intended route is to lose it and defeat him in the later rematch. Parry his non-red melee attacks, dodge red attacks and shoulder shots, and use Critical Attacks after Posture breaks; during the rematch, combine Fire Transmutation with Pistol weak-point shots to stagger him through both phases.
Where to Find Lothaire and Prepare
The opening encounter takes place in The Battlefield at the end of Chapter 1: Revival, with Field Encampment as a nearby Lantern landmark. Continue through Chapter 2: Regroup for the decisive rematch at the Abandoned Church, near the Church Lantern. The full game's intended victory comes after this additional progression and time to develop your character. Lantern names become visible in the fast-travel menu after the Chapter 2 boss.
Keep the Saber and Fire Transmutation ready for the opening encounter: the Saber supports parrying, and Fire is obtained during early story progression. The Pistol is acquired in Chapter 2, making weak-point shooting part of your rematch strategy. If you want more room for mistakes, favour Maximum Health upgrades; Parrying Impact supports a strategy built around breaking Posture.
Prepare Your Health and Early Ambers
- Rest at a Lantern before committing to the fight. Resting restores Health and Nephtoglobin, although it also brings non-boss enemies back along the surrounding route.
- Spend carried Catalysts on levels at a Lantern before a serious attempt. This strengthens your character while reducing the amount you risk dropping if the fight goes badly.
- Climb back up the cliffs across the branches from the Onslaught Arch Lantern in The Battlefield. This brings you to gold vines on your left.
- Burn those gold vines with Fire to reveal the chest containing Bottomless Well. This Amber slowly regenerates lost Nephtoglobin, making it a useful option for your Fire strategy.
- Turn right after the Plunge Attack tutorial near the Trenches Lantern instead of climbing the wooden ledge. This leads into the dead end containing an enemy and a chest.
- Open the chest behind that enemy to collect Iron Grip. The Amber makes Ferrofluid Flask use faster and prevents the drinking action from being interrupted.
Handle the Sword, Spear and Shoulder Shots
During the opening phase, Lothaire uses sword and spear combos, sometimes followed by shoulder-mounted gunfire. Turn his parryable melee attacks into Posture damage, then take the Critical Attack when his guard breaks. The Pistol actions below apply to the rematch, when that weapon is part of your story equipment.
- Parry a non-red sword or spear strike by pressing Block as it lands. A successful parry prevents damage and builds Lothaire's Posture toward a break.
- Dodge his red-glowing melee attacks. These attacks cannot be blocked or parried, so switch your defensive response when the red cue appears.
- Dodge the shoulder shots as their gold flash nearly disappears. Keep watching after his melee combo, since the pause can lead directly into gunfire.
- Ignite Lothaire with Fire Transmutation when you have room to act. Burning adds damage alongside the melee attacks and parries you use to work toward a stagger.
- Shoot his body weak points with the Pistol during the rematch. These hits add substantial stagger, allowing further parries or melee hits to complete the Posture break.
- Perform a Critical Attack when you break his Posture. This converts the stagger into a heavy burst of damage instead of relying entirely on ordinary melee hits.
- Reapply Fire immediately after the Critical Attack if your Nephtoglobin bar is full. This starts the burning cycle again while you work toward another break.
Survive Lothaire's Second Phase
Emptying the first health bar starts another phase with a full health bar, so keep fighting after the apparent finish. Lothaire drops his sword and attacks with a large arm, adding unblockable swings and a damaging grab. He can also summon soldiers from the ground, giving you another threat to clear while watching his arm.
- Dodge his unblockable arm swings and grab. Make avoiding the grab your priority when deciding whether to squeeze in another attack.
- Clear summoned soldiers with the Pistol or Fire. They die in one hit, so removing them quickly lets you return your attention to Lothaire.
- Set Lothaire on fire again with Fire Transmutation. The same burning strategy remains useful after his transformation.
- Shoot the weak points that reappear on his body with the Pistol. This builds stagger again and creates further opportunities for a Critical Attack.
If you are chasing a victory in the opening encounter, focus on dodging the transformed combos and taking melee openings you recognise. Keep the Pistol plan for the rematch. Give yourself time to learn the arm attacks before committing to longer attacks of your own.
Rewards and the Route Forward
A successful defeat awards the Torn Banner achievement and 10,000 Catalysts. Lothaire also carries a Catalyst Clot worth another 10,000 Catalysts. Spend your Catalysts on levels at a Lantern when you are ready to strengthen your character for the next stretch.
After the decisive Chapter 2 victory, Lantern fast travel becomes available. The campaign continues into Chapter 3: Rendezvous in Fallen Village. Use the new travel option if you want to revisit an earlier area before continuing.
What Happens if You Lose
The opening encounter gives you one normal attempt: dying starts a cutscene and Lothaire disappears from that encounter. This loss continues the campaign and does not prevent the later rematch. Use what you learned about his melee rhythm and shoulder flash to prepare for that decisive fight.
For a later failed attempt, death returns you to the last Lantern you rekindled and leaves your carried Catalysts where you died. Recover them before dying again if you want to keep them. After a successful victory, resting at a Lantern does not respawn the boss.