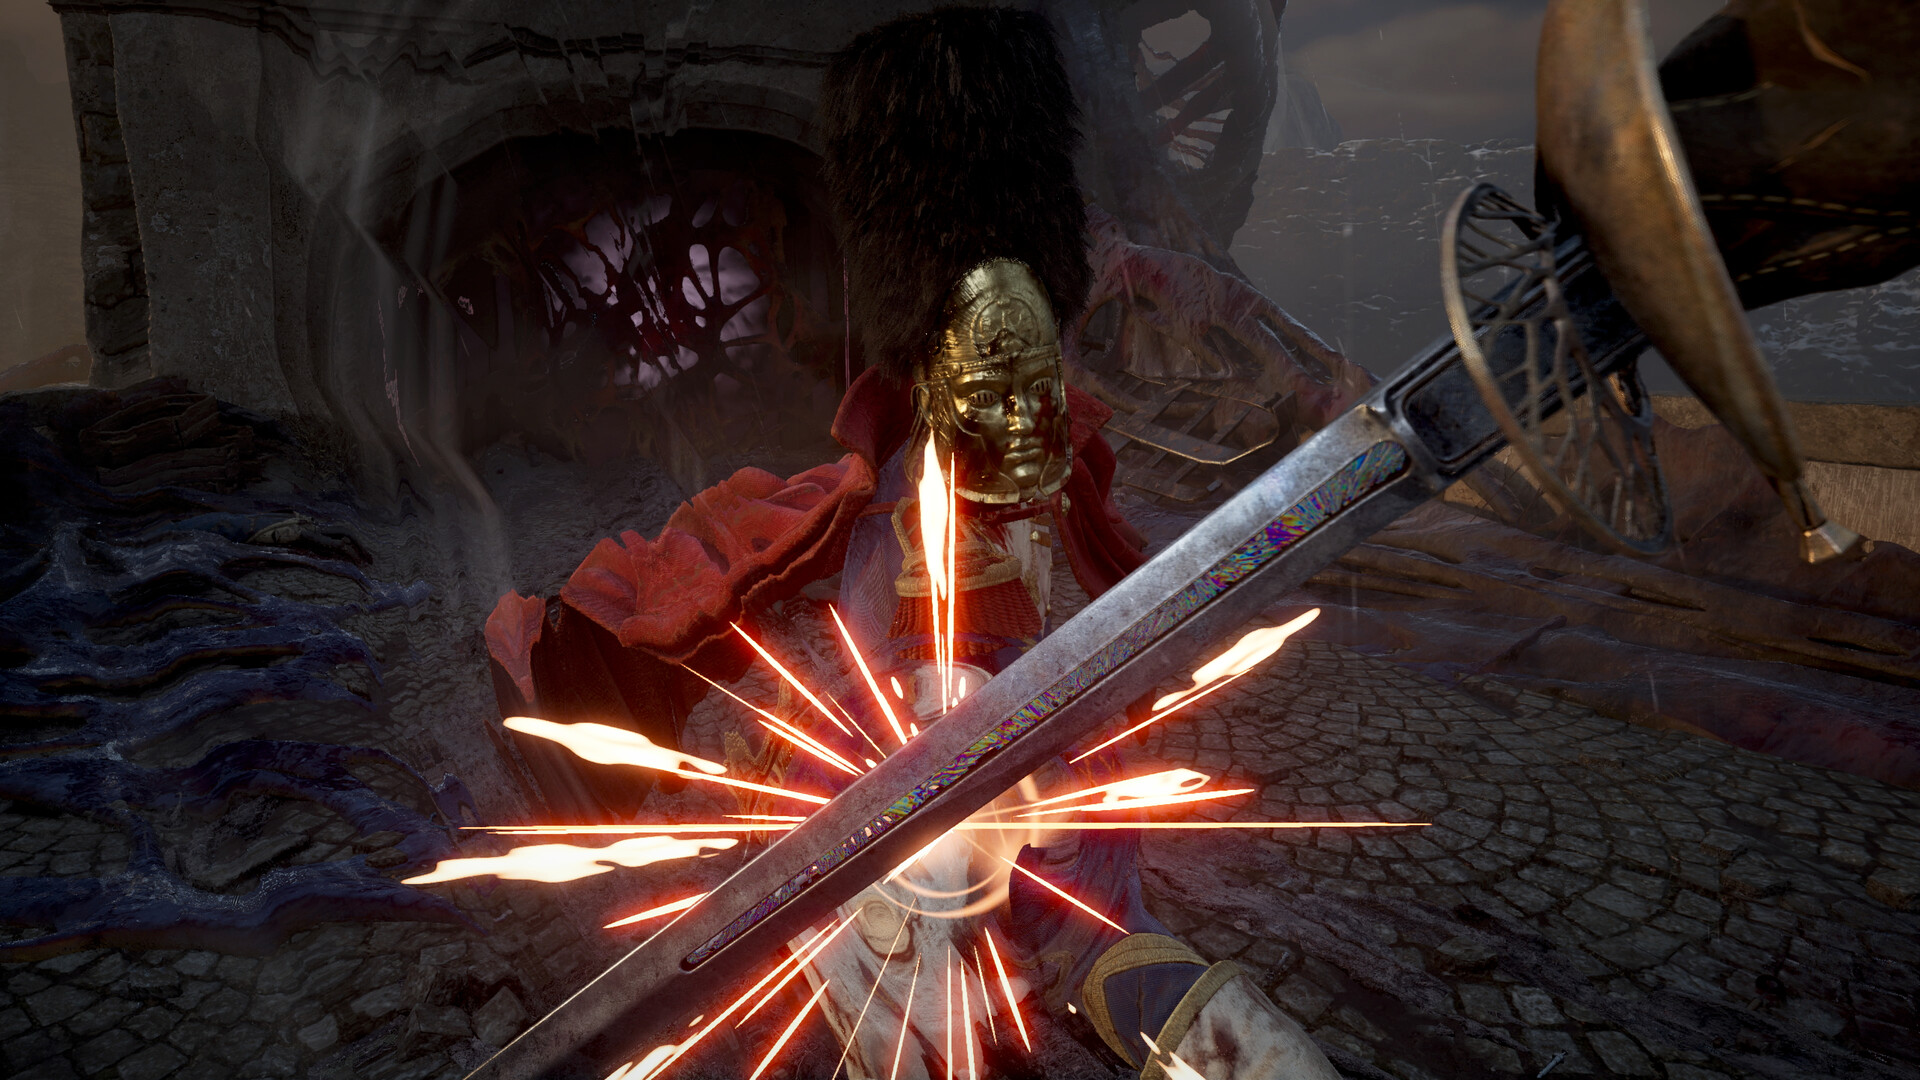
Where to Get the Claymore
Get the Claymore inside the church in Cursed Hollow during Chapter 6: Punishment: shoot the weak spots on either side of the building, enter, and pull it from the body. Use it for powerful melee and charged attacks, with Nephtoglobin fueling its secondary attacks; it can block but cannot parry.
Follow the Church Route From Deep Water
- Locate the Village Church and Deep Water Lanterns in Cursed Hollow. For the final approach to the weapon, start from Deep Water and follow the long, straight stretch toward the church.
- Watch for the circular area with a hay bale in the center and a patrolling cannon enemy. Continue toward the church from this landmark.
- At the church, shoot the two weak spots on the left and right sides of the building. Destroying them opens the front door.
- Go inside and pull the Claymore from the body. Taking the weapon is required to continue the story.
Claymore vs Saber and Rapier
| Blade | Damage and defence | How to get it |
|---|---|---|
| Saber | 20 damage at level 1; 60 at level 10. Can block and parry. | Automatically obtained at the start of the game. |
| Rapier | 25 damage at level 1; 45 at level 10. Can parry but cannot block properly. | Pull it from the body blocking the path from the Abandoned Church toward the village. |
Use Charged Attacks, Waves and Defensive Openings
The Claymore deals 15 posture damage per light hit. Its first charged attack at level 1 deals 125 damage and 37.5 posture damage. Look for a clear opening before committing to the charge, then watch for the posture break that lets you perform a Critical Attack.
Burning Wave builds Ignite, while Wave of Stasis builds Stasis. Secondary attacks consume Nephtoglobin, which you replenish through melee hits and by collecting Remnants released from shattered weak points. Alternate wave use with opportunities to refill the resource instead of spending it without a recovery plan.
Blocking reduces incoming damage and spends Endurance. Damage taken while blocking can be recovered by landing melee hits shortly afterward. Dodge red-glowing attacks, and keep enough Endurance available to defend yourself after a swing.
Blade Materials for Every Claymore Upgrade
Upgrade the Claymore at James’s Iron Bench in the Abandoned Church. It reaches level 10, and enough Blade Materials are available to fully upgrade all melee weapons. The final upgrade requires a Quintessential Blade Material.
| Material | Upgrade requirements | How to get it |
|---|---|---|
| Crude Blade Material | Level 2: 1; level 3: 2; level 4: 3. Total: 6. | Collect world pickups or buy it from James’s Iron Bench. |
| Pure Blade Material | Level 5: 1; level 6: 2; level 7: 3. Total: 6. | Collect world pickups or buy it from James’s Iron Bench. |
| Distilled Blade Material | Level 8: 1; level 9: 2. Total: 3. | Collect world pickups or buy it from James’s Iron Bench. |
| Quintessential Blade Material | Level 10: 1 material. | Find it in the world; merchants do not sell it. |
Where to Find Quintessential Blade Material
| Lantern | Route to the material |
|---|---|
| The Outskirts > Lighthouse | After defeating Experiment 83, check the chest in the side laboratory near the notes. |
| Fortress > Chapel | Enter the underground sewer room, take the left door after the pole jump, descend the stairs and turn right. Clear the locked combat room and open the explosive chest at the back. |
| Fortress > Courtyard | Complete The Oathbound, then open the chest to the right of the table in the quest’s hidden room. |
Ambers for Damage, Healing and Waves
| Amber | Effect and use | Where to get a copy |
|---|---|---|
| Perfectionism | Increases melee damage at full Health by 10%, 15% or 20%, depending on rank. | Loot the chest behind the Oathbound enemy on the side path from Valley of Ashes > Demolished Path. |
| Bottomless Well | Regenerates Nephtoglobin; consider it when you regularly use the Claymore’s secondary attacks. | From The Battlefield > Onslaught Arch, climb back across the branches and burn the gold vines on the left to reach the chest. |
| Life Diverted | Makes Ferrofluid Flasks restore Nephtoglobin instead of Health. Plan another way to heal before equipping it. | Open the chest behind the Eternal Guardsman near Cursed Hollow > Deep Water. |
| Dominatus | Restores Health when you perform Critical Attacks; useful if you regularly break enemy posture. | Open the chest in the corner tent left of the uphill path in Valley of Ashes > Military Camp. |
| Butcher’s Carnage | Melee hits restore Health, but Ferrofluid Flasks stop healing you. Choose it when you want healing tied to attacking. | Complete In the Name of Art in Vale of Wrath > Under the Bridge. |
| Lunatic’s Grasp | Speeds up Ignite and Stasis buildup but removes your resistance to those effects. | In Caverns > Weeping Ledge, open the chest left of the gold vines in the room full of Carrion. |
Choose Skills Around Your Claymore Playstyle
- Start with Maximum Health and Melee Endurance Cost for a forgiving melee setup. Each purchase adds 10 Maximum Health or reduces melee attack Endurance costs by 5%, respectively.
- Add Melee Damage and Endurance Regeneration to strengthen your attack cycle. Each purchase grants 3% more melee damage or 5% faster Endurance regeneration.
- For frequent secondary attacks, consider Nephtoglobin Sufferance and Nephtoglobin Extraction. Each purchase adds 10 maximum Nephtoglobin or increases Nephtoglobin gained from melee hits by 15%.
- If you rely on guarding, invest in Blocking. Each purchase reduces blocking Endurance costs by 5% and increases recoverable Health from blocks by 30%.
- Take Critical Damage when posture breaks are a regular part of your fights. Each purchase increases Critical Attack damage by 5%.
Earn Hood-Snatcher With a Charged Swing
- Travel to Fallen Village > Marketplace and enter the barn directly in front of the Lantern to trigger the villagers.
- Stand in the doorway and let the enemies bunch up in front of you. Hold the melee attack to charge the Claymore, then release the swing into the group.
- Decapitate at least 3 enemies with the same Claymore attack to earn Hood-Snatcher. If you need another attempt, rest at the Lantern to respawn the villagers and repeat the setup.