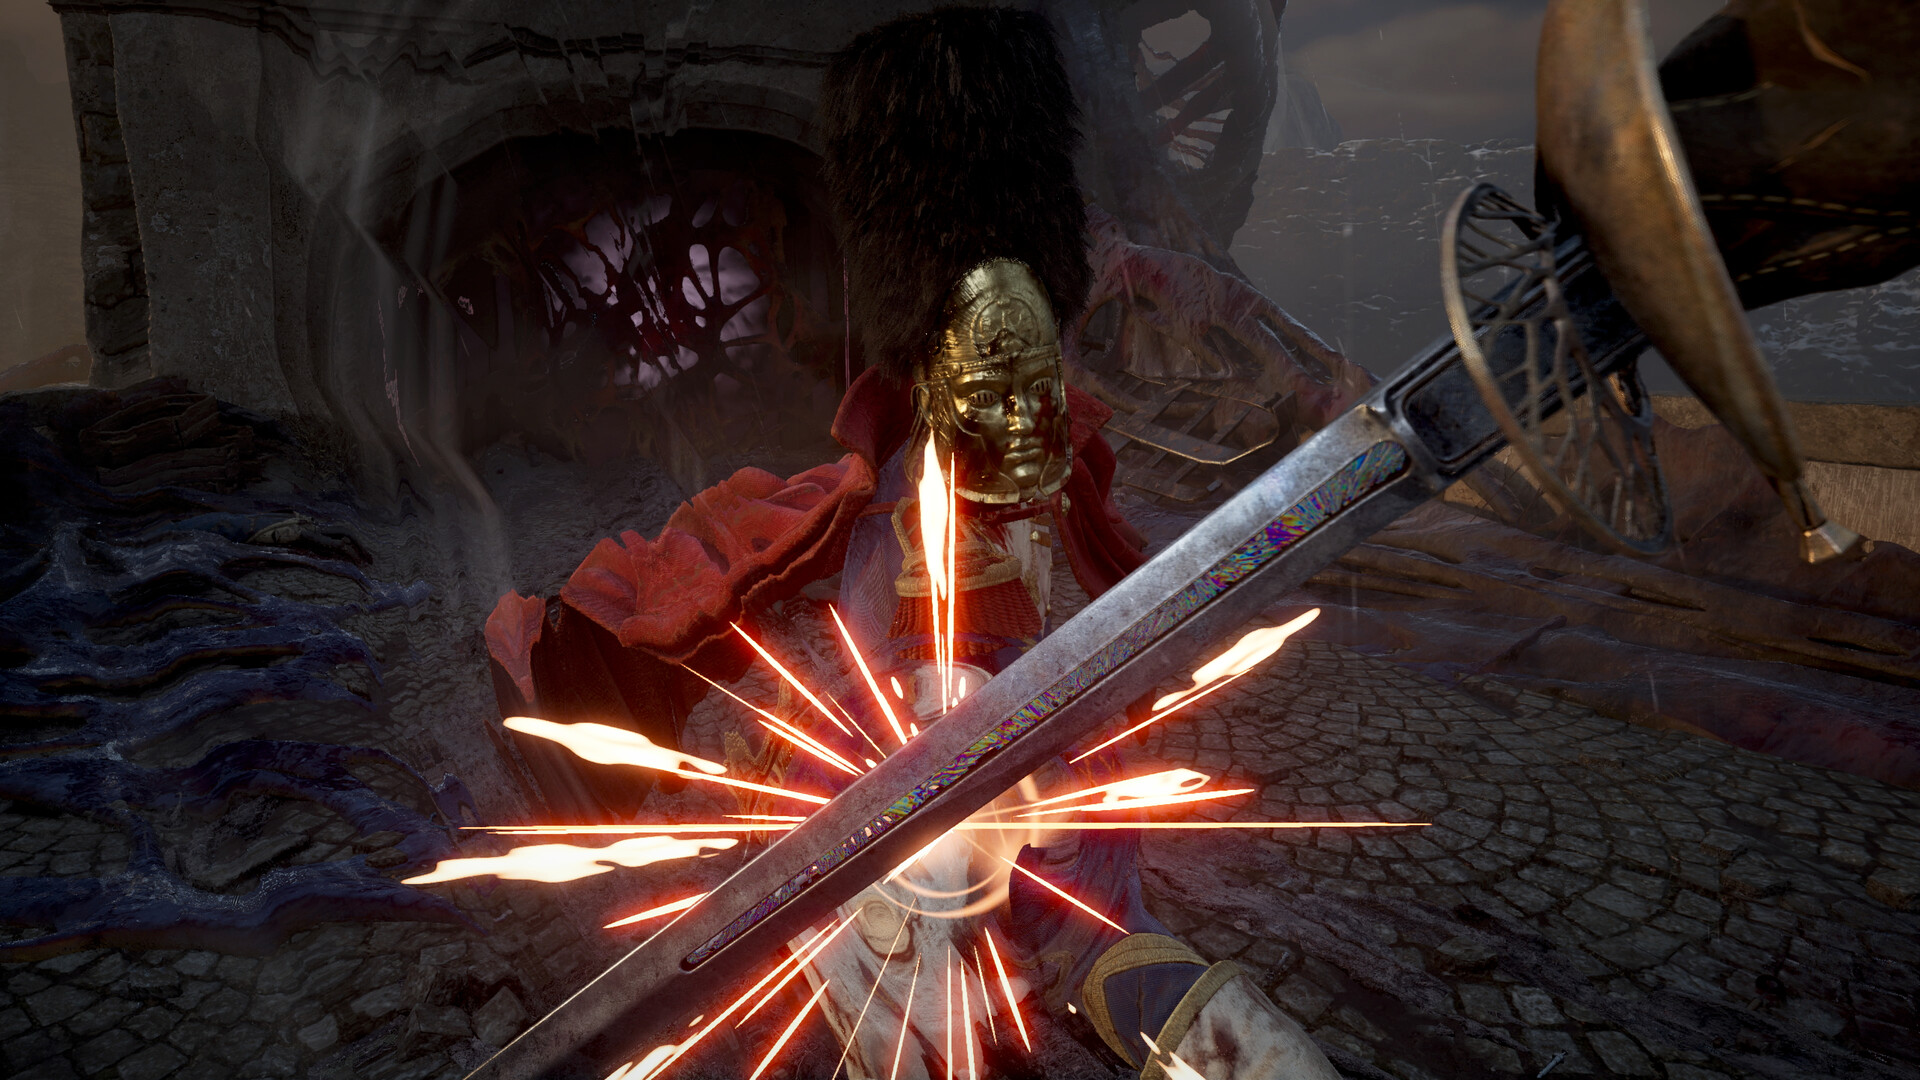
Burn during openings and parry the arm combos
Defeat The Orphan by applying Fire Transmutation during its recovery openings, then parrying its ordinary arm combos in the lower arena to earn damaging stagger attacks. Dodge the approaching ground sword, the unblockable strike inside its melee combo, and the poison beam. The fight has two health bars, so clearing the sword arena leads into another combat phase below.
Reach The Orphan through the University
- Follow the University story route toward The Orphan. This is a mandatory encounter on the main progression route through the region.
- Collect Shield Transmutation at the top of the stairs in the large open room after the library chandelier jump, along the route from University > Main Hall. This ability lets you cross poison areas and block enemy damage.
- Pick up the Lift Shaft Key in the room filled with square cages near University > Lift Shaft. It lies on the ground beside a cage at the back of the room and unlocks the lift gate in the previous room.
- Use the Lift Shaft Key on the gate to the lift in the previous room. Opening this gate lets you continue along the University progression route.
- Rekindle the Sewage Drain Lantern before challenging The Orphan. This University checkpoint is near the boss, and your last Rekindled Lantern determines where you respawn after death.
Prepare Fire, parries and healing
Choose the Saber or Rapier if you intend to use the parry strategy. The Saber can block and parry, while the Rapier specializes in parries and cannot block properly; the Claymore cannot parry. Pick the blade whose defensive timing you can repeat reliably.
Keep Fire Transmutation ready for the pauses between The Orphan’s attacks. If you already own Duellist’s Focus, its wider melee parry window can help while you learn the timing. Dominatus also suits this approach because it restores Health when you perform Critical Attacks.
Review your Ferrofluid upgrades if surviving the encounter is the main problem. Power upgrades increase the healing from each use, while Quantity upgrades increase the uses available after resting. Ferrofluid is your primary healing source, so improving it is a useful preparation option.
Handle the sword arena and poison vents
- Move clear of the poison gas vents before settling into an attack position. The vents are spread across the arena floor, so check your footing whenever the fight moves to another part of the room.
- Dodge out of the way when The Orphan jumps toward you. It can use this closing attack when you move too far away, so expect a leap when creating distance from its sword.
- Time your dodge for just before the ground sword reaches you. The cue is The Orphan disappearing and the arena turning red, followed by its sword sticking out of the floor and moving toward you.
- Apply Fire Transmutation during the pauses after its attacks or jumps. The Orphan spends time standing still during these recoveries, giving you an opening to ignite it and deal burning damage.
- Land melee attacks between Fire applications to recharge Nephtoglobin. This supplies the resource for another ignition when the boss next pauses, letting you repeat the burn-and-melee cycle through the sword phase.
Win in the lower arena
- Parry the ordinary arm swings and punches once the next health bar drops you into the lower arena. These combos provide effective opportunities to stagger The Orphan, making defensive timing a major source of damage in this part of the fight.
- Dodge the unblockable strike that appears inside a melee combo. A red-glowing attack cannot be blocked or parried, so watch each incoming swing rather than assuming the entire string accepts the same defensive response.
- Ignite The Orphan as it grabs a pipe, before the pipe attack string begins. A quick Fire application at this point can stop it from using the pipe, removing that attack sequence from the immediate exchange.
- Dodge sideways repeatedly when the poison beam fires. The warning is a green poison ball charging in its chest; keep dodging to the side throughout the beam until it stops.
- Use a Critical Attack when your parries stagger the boss. Melee hits and parries build its Posture toward this opening, with parries building it faster, so successful defensive exchanges lead directly to a strong punish.
Spoilers: rewards and the next region
Defeating The Orphan awards Coup de Grâce and 40,000 Catalysts. Victory clears this mandatory story encounter, with the Fortress coming after the University in campaign progression. Consider spending your Catalysts before pressing farther into the next region.
Recover your Catalysts before another attempt
Dying returns you to the last Lantern you Rekindled and drops your Catalysts where you died. You can return to recover them, but dying again before collecting them loses them permanently. A Remnant’s Return vial can recover lost Catalysts without requiring you to reach the death location.
If The Orphan stops attacking
- Why does The Orphan stop attacking in phase two?
- The Orphan standing inactive during its second phase has been reported as a bug. Keep the game updated before trying again; a patch addressed Stasis persisting on The Orphan. If your save remains blocked from progressing, the Support Team can provide replacement saves for each chapter.